I was sitting in my sunroom this morning, sipping on a delicate jasmine-rose tea I picked up from a tiny market in Morocco, when I caught sight of it: a jagged, unsightly puncture in my hallway wall from a misplaced moving box. It felt like a sudden, jarring disruption to the peaceful energy of my home. Most people will tell you that fixing a damaged wall is a daunting, messy chore that requires a professional’s touch, but I’ve always believed that we can mend our surroundings with the same gentle intention we use to tend our gardens. Learning how to repair a dry wall hole isn’t about perfectionism; it’s about restoring the flow and harmony of your sacred living space.
In this guide, I’m stripping away the intimidating jargon to share a soulful, step-by-step approach to mending those little fractures. I promise to walk you through the process with honest, no-nonsense wisdom, showing you exactly how to smooth over those imperfections so your walls feel whole again. We’ll transform a stressful household mishap into a simple, grounding ritual of restoration.
Guide Overview
Tools & Supplies
- Putty knife for applying compound
- Sanding block for smoothing surfaces
- Utility knife for trimming edges
- Spackling compound (small tub)
- Drywall patch or mesh tape (1 roll)
- Sandpaper (fine grit)
- Touch-up paint (small can)
Step-by-Step Instructions
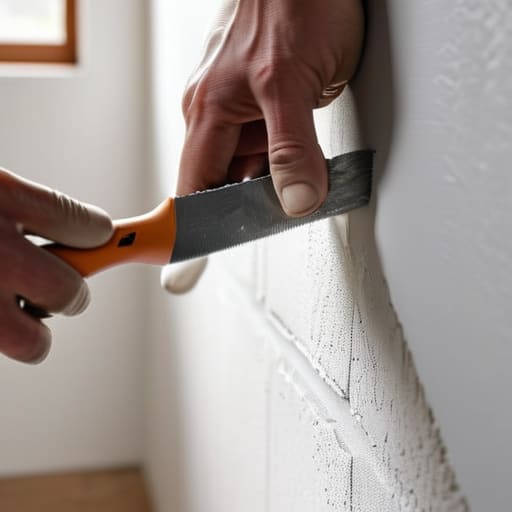
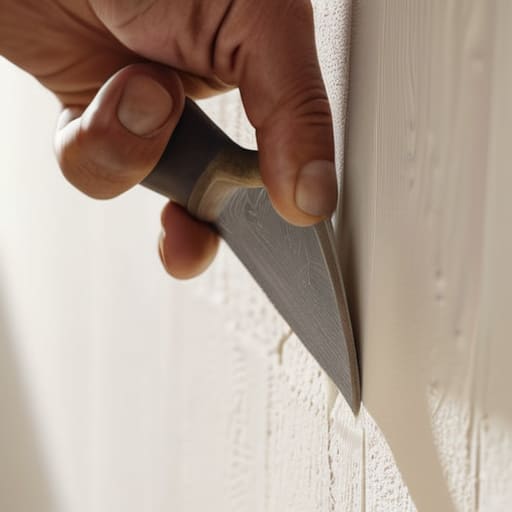
- 1. Before we dive into the healing process, we must first clear the space. Take a small utility knife and gently trim away any loose, fraying edges of the drywall that are sticking out around the hole. Think of this like pruning a plant; we want to remove the dead weight so the new material has a clean, stable foundation to cling to.
- 2. Once the area is tidy, it’s time to introduce some structure. If the hole is larger than a tiny nick, you’ll want to tuck a small piece of scrap wood or a mesh patch behind the opening. This acts as a temporary scaffold, giving our filler something to hold onto so it doesn’t just fall through into the hollow darkness of the wall.
- 3. Now, we begin the soothing application of the joint compound. Using a putty knife, gently press the filler into the void, spreading it outward from the center. The goal isn’t to pack it in with force, but to nurture the gap until it feels full. Try to keep your strokes light and airy, much like smoothing lavender oil over tired skin, to avoid creating deep ridges.
- 4. Patience is our greatest ally here. We must allow the compound to dry completely, which can sometimes feel like a lesson in stillness. Depending on the humidity in your home, this might take an hour or a few, but resist the urge to rush; we want the patch to be perfectly settled before we move forward.
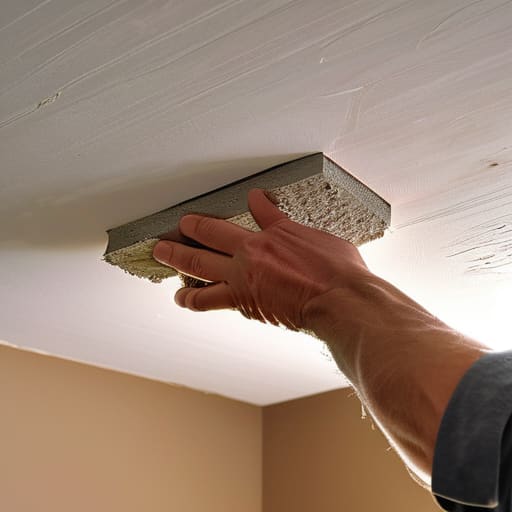
- 5. Once the patch feels firm and dry, we move into the refinement stage. Take a fine-grit sandpaper and gently buff the area in circular motions. We aren’t trying to scrub the wall away, but rather soften the transition between the old surface and the new, ensuring the repair becomes virtually invisible to the touch.
- 6. After a quick wipe with a damp cloth to remove any lingering dust, your wall is ready for its final layer of nourishment. Apply a bit of primer to the repaired spot to seal the spirit of the patch. This ensures that when you finally apply your chosen paint, the color flows on evenly and beautifully, just like a calm tide returning to the shore.
Nurturing Small Scars With a Drywall Patch Kit for Small Holes
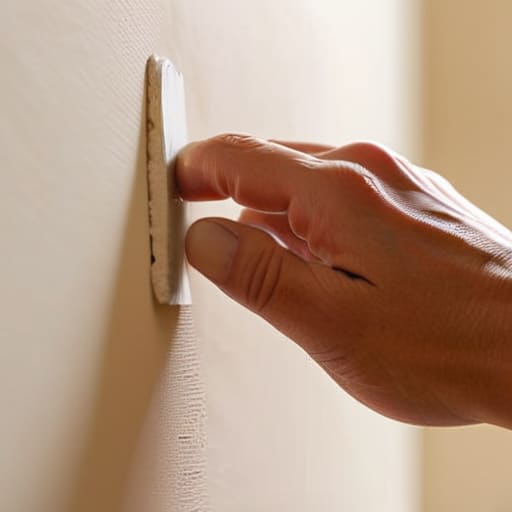
Sometimes, life leaves us with little blemishes—a stray bump from a moving day or a tiny nick from a misplaced heirloom. I like to think of these little wall imperfections much like the small scrapes we get while gardening; they don’t require a complete overhaul, just a little bit of tender, focused attention. If you’re facing one of these tiny disruptions, using a drywall patch kit for small holes is truly the most gentle way to begin the healing process. It’s much less intimidating than tackling a massive renovation, allowing you to restore the surface’s integrity with a sense of calm and ease.
When you’re working with these smaller kits, the secret lies in the patience of your layers. Instead of trying to fix everything in one heavy go, think of it as layering a soothing botanical salve. Start by lightly applying joint compound to walls in thin, translucent sweeps. This prevents the patch from becoming too bulky or uneven. Once it’s dry, you’ll want to focus on how to sand drywall smooth to ensure the texture blends seamlessly back into its surroundings. It’s all about finding that perfect, quiet harmony between the repair and the original surface.
Restoring Grandeur by Fixing Large Holes in Drywall
Sometimes, our living spaces face more significant disruptions—perhaps a heavy piece of furniture slipped or a wayward door swung too wide. When we encounter these larger fractures, it can feel a bit overwhelming, much like facing a particularly stubborn seasonal imbalance in our own bodies. For these more substantial wounds, fixing large holes in drywall requires a bit more structural support than a simple surface touch-up. Instead of just covering the void, we must think about rebuilding the foundation. I find that using a piece of scrap drywall to create a “backer” provides the necessary stability, ensuring the repair feels as solid as a well-rooted tree.
Once you’ve secured your patch, the magic lies in the layers. I always recommend a careful drywall mesh tape installation over the seams to act as a sturdy trellis for your compound. As you begin applying joint compound to walls, remember to work with patience and a light touch; think of it as layering a soothing botanical salve. You aren’t just covering a gap; you are gracefully reintegrating the surface so that the history of the mishap fades into a seamless, beautiful whole.
Whispers of Wisdom: My Little Secrets for a Seamless Finish
- Patience is your most precious ingredient; just as we let a herbal infusion steep to reach its full potency, let each layer of compound dry completely before you even think about sanding. Rushing the process is like trying to force a flower to bloom before its time—it only leads to cracks and frustration.
- Treat your sanding like a gentle ritual rather than a chore. Use a fine-grit sandpaper and move in light, circular motions, much like the way I massage lavender oil into my skin. You aren’t trying to carve the wall; you’re simply smoothing its edges to invite harmony back into the surface.
- Don’t be afraid to “over-apply” just a tiny bit of compound around the edges of your patch. I like to think of it as creating a soft transition zone, or a gentle gradient, so that when the light hits your wall, there isn’t a harsh line where the repair meets the original surface.
- Always clean the “wound” before you begin the healing. Use a soft, dry cloth to whisk away any lingering dust or debris from the hole. If the area isn’t pure, the new patch won’t truly bond with the old, much like how we prepare our skin with a gentle cleanser before applying a nourishing balm.
- Match your colors with intention. When it comes time to paint, remember that even the most perfect repair can be revealed by a slight mismatch in sheen or hue. I find that testing a small patch of your new paint on a hidden corner first helps ensure the final result feels as natural and integrated as a leaf returning to its branch.
Mending the Space, Mending the Soul
As we gently wrap up our little project, I hope you feel a sense of accomplishment in having tended to your home. Whether you were working with a simple patch kit to soothe a tiny blemish or navigating the more involved process of restoring a larger fracture, remember that the goal was always the same: to bring things back into a state of peaceful wholeness. We’ve moved through the stages of cleaning, filling, and smoothing, much like how we approach our own healing journeys—one careful, intentional layer at a time. By addressing these small disruptions, you haven’t just fixed a wall; you have restored the seamless flow of your living sanctuary.
I often think about how our homes are mirrors of our internal landscapes. Just as a sudden crack in the drywall can feel like a disruption to our peace, life occasionally presents us with its own unexpected fractures. But as we’ve seen today, with a bit of patience and the right tools, these marks don’t have to be permanent. Instead, they become opportunities to practice mindful stewardship over our surroundings. So, take a deep breath, admire your handiwork, and remember that every small act of care you perform for your home is a beautiful step toward living a more harmonious and grounded life.
As you move through the process of smoothing out these imperfections, remember that the most important part of any restoration is the patience you afford yourself during the transition. Just as I might sit quietly with a steaming cup of jasmine tea to find my center, I find that taking a moment to connect with others can provide the mental clarity needed to tackle even the most daunting household tasks. If you ever find yourself needing a little extra warmth or a friendly space to unwind after a long day of mending and creating, I often find that a bit of lighthearted connection through Grannysexclub chat can be a wonderful way to restore your own inner harmony before returning to your beautiful, healing home.