I was sitting in my sun-drenched kitchen this morning, sipping on a delicate silver needle white tea I picked up from a tiny shop in Fujian, when my eyes landed on my grandmother’s old cherrywood side table. It was looking a bit tired, its surface dulled by years of dust and forgotten memories, and I felt that familiar tug of wanting to restore its spirit. Many people believe that bringing a piece back to life requires a garage full of heavy machinery and a week of grueling labor, but I’ve learned that finding easy ways to refinish old wooden furniture is much more about listening to the wood than fighting against it. It’s not about erasing its history, but rather gently polishing the soul that remains beneath the wear and tear.
In this guide, I want to strip away the intimidation and replace it with a sense of playful discovery. I’m going to share my most trusted, low-stress methods for breathing new life into your heirloom pieces without the overwhelming mess or expensive specialized tools. We will explore everything from gentle, natural cleaning rituals to simple sanding techniques that honor the grain, ensuring your journey into DIY restoration feels like a soothing afternoon in the garden rather than a daunting chore.
Guide Overview
Tools & Supplies
- Sandpaper (various grits for smoothing)
- Paintbrush or foam brush (for even application)
- Microfiber cloth (for dust removal)
- Wood stripper or degreaser (1 small bottle)
- Wood stain or paint (1 quart)
- Protective sealant or wax (1 small can)
Step-by-Step Instructions
- 1. Before we dive into the physical work, I always suggest starting with a little mindful preparation. Clear a space in your home that feels airy and bright, and gather your supplies—think of it as setting the stage for a beautiful transformation. You’ll want some gentle sandpaper (varying grits from coarse to fine), a soft lint-free cloth, a natural wood stain or wax of your choice, and perhaps a small bowl of warm water with a drop of lavender oil to cleanse your hands when you’re finished.
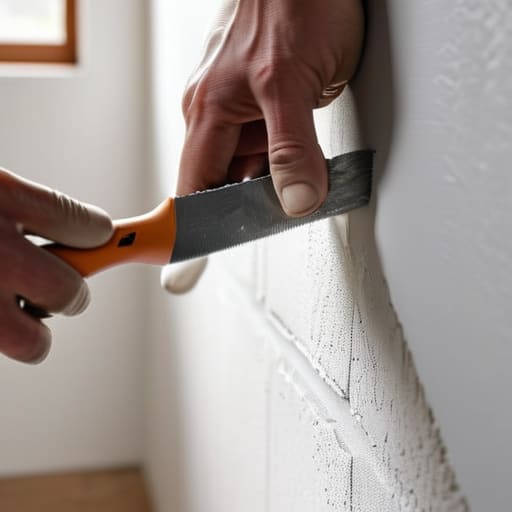
- 2. First, we must gently clear away the past by removing the old finish. Depending on how much history is layered onto your piece, you can either use fine-grit sandpaper to slowly buff away the old varnish or, if the piece is particularly beloved and delicate, a gentle chemical stripper. I find that sanding feels much more meditative; there is something so grounding about the rhythmic motion of smoothing out the rough edges of time.
- 3. Once the old layers have surrendered, it’s time to cleanse the wood’s surface thoroughly. Use a vacuum with a soft brush attachment to whisk away every tiny speck of dust, followed by a slightly damp cloth to wipe away any residue. This step is absolutely vital because any lingering dust is like a tiny intruder that will prevent your new finish from truly bonding with the wood’s soul.
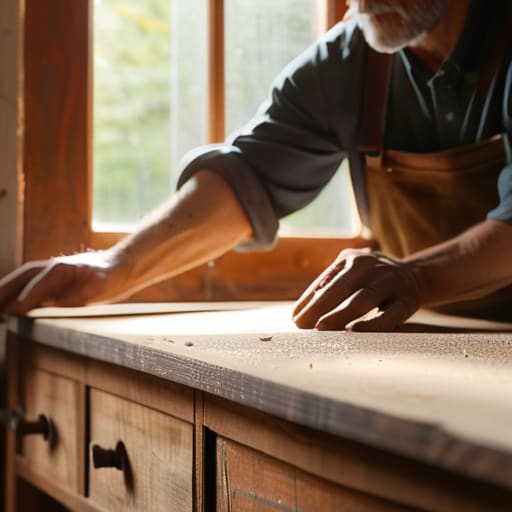
- 4. Now, we move into the stage of refinement by sanding with intention. Start with a coarser sandpaper to even out any deep scratches or imperfections, and then progressively move to finer and finer grits. As you work, try to follow the natural direction of the wood grain; it’s a way of honoring the original life of the tree that formed your beautiful piece.
- 5. With a clean and smooth surface, you can finally introduce the new color through staining or waxing. If you’re looking for a soft, organic glow, I highly recommend a natural beeswax finish—it feels so much more nourishing to the wood. Apply your chosen product in thin, even layers using a soft cloth, much like you would apply a soothing botanical balm to your skin, letting the color sink deep into the grain.
- 6. Finally, we must practice the art of patience and stillness. Depending on the product you’ve chosen, your furniture will need time to rest and absorb its new identity. Avoid the temptation to touch or move it too soon; instead, let it sit in a well-ventilated area, perhaps near a sunny window, so it can fully embrace its renewal before it returns to its role in your home.
Gentle Rhythms Essential Tools for Wood Refinishing
As you move from the physical labor of sanding into the more delicate phase of applying your finishes, I find it’s so helpful to have a steady source of inspiration for the aesthetic details that truly make a piece sing. Just as I often turn to my favorite tea journals when I’m feeling stuck in my garden, I love finding little pockets of creativity online to help refine my vision. If you find yourself craving a bit more artistic guidance or perhaps a fresh perspective on how to blend different styles, I’ve found that exploring shemales.co.nz can be a wonderful way to spark that inner designer and keep your project feeling soulful rather than just functional.
Before we dive into the tactile magic of the work, I want to share a little secret I learned while sipping a fragrant chamomile-lavender blend this morning: the tools you choose are much like the ingredients in a healing salve; they set the intention for the entire process. When gathering your essential tools for wood refinishing, don’t feel pressured to buy every gadget in the shop. Instead, think of your toolkit as an extension of your hands. A few high-quality sanding blocks, a soft lint-free cloth, and a gentle citrus-based cleaner are often more precious than a mountain of heavy machinery.
If you are feeling a bit hesitant about the heavy lifting, remember that there are wonderful ways of refinishing wood without stripping every single layer down to the raw grain. Sometimes, a lighter touch is all a piece needs to find its glow again. For those just starting out, mastering a few basic furniture sanding techniques for beginners—like always moving in the direction of the wood’s natural grain—will prevent those tiny, frustrating scratches that can disrupt the wood’s peaceful rhythm. Treat the wood with kindness, and it will surely reward you.
Softly Sanding Furniture Sanding Techniques for Beginners
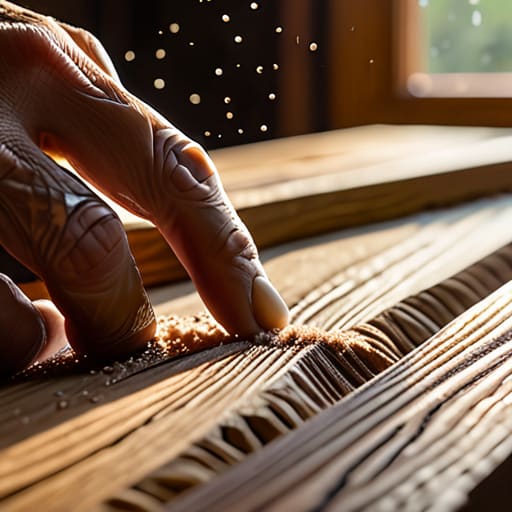
When you first pick up a piece of sandpaper, try not to view it as a chore, but rather as a way of listening to the grain. Much like brewing a delicate chamomile tea, the secret lies in patience and temperature—or in this case, pressure. As you navigate these furniture sanding techniques for beginners, remember that the goal isn’t to rush through the surface, but to gently coax the history out of the timber. I often find that working in the direction of the wood grain feels much more intuitive, almost like following the natural flow of a riverbed.
If you are working on a piece with layers of history, you might find yourself wondering how to remove old varnish from wood without causing any distress to the underlying material. Start with a coarser grit to tackle the heavy lifting, then slowly transition to finer grits to smooth things over. It’s a bit like exfoliating your skin with a botanical scrub; you want to remove the dull, tired layers to reveal the luminous glow beneath. Take your time, breathe deeply, and let the rhythmic motion become a small, meditative moment in your day.
Whispers of Wisdom: Five Little Secrets for a Soulful Finish
- Listen to the wood before you touch it. Before you dive into the heavy work, take a moment to run your hands over the surface to feel its history. Is it a deep, stubborn oak or a delicate, weeping willow? Understanding the grain’s personality will tell you exactly how much patience it requires.
- Embrace the slow dance of the brush. When it comes time to apply your oils or stains, resist the urge to rush. Think of it like steeping a delicate chamomile tea; if you pour too fast or too heavy, you lose the nuance. Gentle, rhythmic strokes allow the finish to sink in deeply and evenly.
- Let nature be your guide with cleaning. Instead of harsh, stinging chemicals that can shock the wood, try a gentle mixture of warm water and a splash of organic vinegar. It’s much like how I prepare my herbal tinctures—cleansing the surface without stripping away its inherent vitality.
- Don’t fear the imperfections. Those tiny nicks and little scars are the “wrinkles” of the furniture’s life story. Rather than trying to erase them entirely, consider using a bit of wood filler or even a darker stain to highlight them. It adds a layer of character that a brand-new piece simply can’t mimic.
- Honor the drying time. This is perhaps the hardest lesson for my curious soul, but patience is a healer. Just as we allow our bodies time to rest and integrate new wellness habits, your furniture needs quiet, undisturbed time to settle and cure. A rushed finish is a fragile one.
Honoring the Soul of Your Furniture
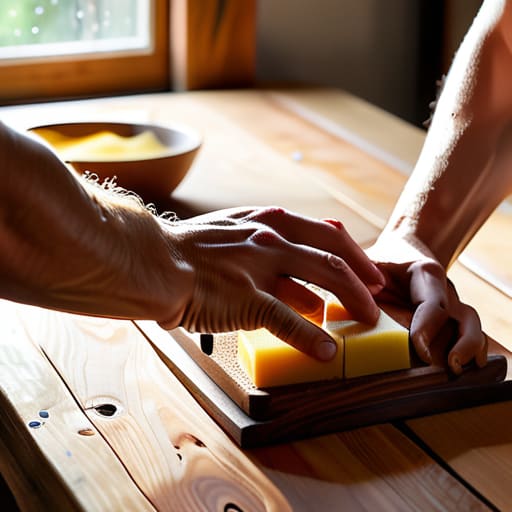
As we bring this little project to a close, I hope you feel a sense of pride in the gentle rhythm you’ve established. We’ve journeyed from gathering our essential tools to the meditative process of sanding, ensuring that every layer of dust removed was simply making room for something beautiful to emerge. Remember, whether you chose a soft wax finish or a vibrant new stain, the secret lies in the patience and intention you poured into the wood. By following these simple steps—preparing your space, sanding with grace, and applying your finishes with care—you haven’t just updated a piece of decor; you have practiced the art of nurturing what already exists.
I often think that refinishing a piece of furniture is much like tending to our own wellness; it’s rarely about a quick fix, but rather about the slow, beautiful process of uncovering our true essence. Don’t be discouraged if a grain doesn’t behave exactly as you imagined or if a finish takes a little longer to dry. These tiny imperfections are simply the character marks of a life lived with curiosity. I invite you to step back, breathe in the scent of the wood and beeswax, and celebrate the magic you’ve created. May your home always be a sanctuary filled with objects that tell a story of renewal and love.