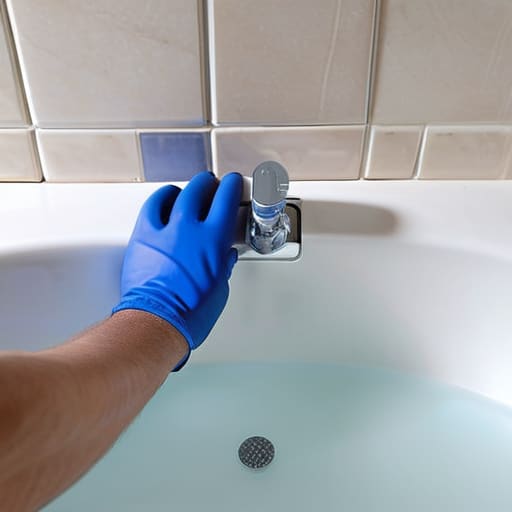
I was sitting in my sun-drenched kitchen this morning, sipping on a delicate jasmine and dried rosebud tea I picked up from a tiny stall in Kyoto, when I caught sight of the darkened, peeling silicone around my bathtub. It felt like such a heavy, discordant energy in my sanctuary. Many people believe that tackling a home repair like how to re-seal a bath requires a specialized contractor or a daunting weekend of intense labor, but I’ve learned that it’s actually more about intentionality and patience. Just as we clear away old, stagnant energy in our lives to make room for growth, clearing away old, crumbling sealant is a beautiful way to restore the flow and cleanliness of your personal bathing ritual.
In this guide, I’m stripping away the complicated jargon to give you a soulful, step-by-step approach to refreshing your space. I’ll share my honest, no-nonsense method for prepping the surface and applying a fresh, protective layer that actually lasts. We aren’t just fixing a leak; we are performing a small act of stewardship for the home that nurtures you. Let’s turn this chore into a mindful moment of renewal.
Guide Overview
Tools & Supplies
- Caulking gun for applying sealant
- Utility knife for removing old silicone
- Plastic scraper for cleaning residue
- Sponge and bucket for cleaning surfaces
- Sanitary silicone sealant (1 tube)
- Mould inhibitor cleaner or rubbing alcohol (1 bottle)
Step-by-Step Instructions
- 1. Before we begin the transformation, we must gently clear away the old, weary sealant. Using a specialized scraper or even a dull butter knife, carefully peel away the worn silicone from the edges of your tub. Think of this as clearing out old energy to make room for something fresh and supportive; just be sure to move slowly so you don’t scratch the beautiful surface of your bath.
- 2. Once the old layer is gone, it’s time for a deep, purifying cleanse. Use a cotton pad soaked in a bit of rubbing alcohol to wipe down the entire area where the new seal will live. This step is absolutely vital because even a tiny speck of dust or lingering moisture can prevent the new sealant from truly bonding with your sanctuary.
- 3. Now, let’s prepare our workspace with a sense of intention. Lay down some old towels or newspaper around the base of the tub to catch any stray drips. I like to think of this as setting the stage for a smooth ritual, ensuring that our focus remains entirely on the healing flow of the project rather than the mess.
- 4. It’s time to introduce the new sealant, and here, I recommend choosing a high-quality, anti-fungal silicone. Hold the tube with a steady hand and apply a continuous, even bead along the seam. Rather than rushing, try to move with a rhythmic grace, letting the sealant flow like a gentle stream along the edge of your tub.
- 5. To achieve that perfect, professional finish that feels as smooth as a river stone, dip your finger into a little bit of soapy water. Gently glide your finger over the fresh bead of silicone, smoothing it down into the corner. This isn’t just about aesthetics; it’s about creating a seamless barrier that protects your home’s peace and prevents any unwanted water from seeping into the cracks.
- 6. Finally, the most important part of any ritual is the period of stillness. You must allow the sealant to cure completely, which usually takes anywhere from 24 to 48 hours depending on the brand. During this time, resist the urge to use the bath; let the sealant settle and strengthen in quiet solitude so it can serve you faithfully for many seasons to come.
Clearing the Path Removing Old Silicone Sealant With Grace
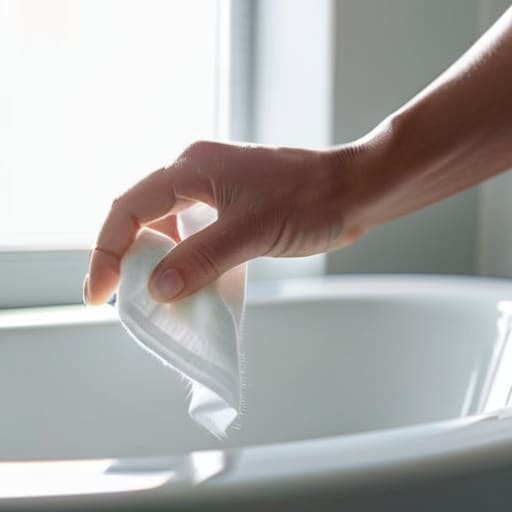
Before we can invite new energy into our space, we must tenderly release what no longer serves us. Think of removing old silicone sealant as a way of clearing out the stagnant energy that has gathered around your tub. I find that using a dedicated scraper or even a simple utility knife can feel a bit harsh, so I recommend moving with gentle, steady intention. If you find the old residue is being stubborn, a little bit of isopropyl alcohol on a soft cloth can help dissolve those pesky bits, ensuring the surface is truly pristine and ready for its next chapter.
As you work, keep a mindful eye on the crevices; we want to ensure we are thoroughly preventing mold in bath sealant by removing every microscopic trace of the old, darkened material. It’s much like pruning a rose bush—you have to clear the old growth to make room for the vibrant new blooms. Having your bathtub caulking tools and materials laid out neatly on a soft towel beforehand turns this chore from a stressful task into a meditative ritual of renewal.
Choosing Earth Friendly Harmony the Best Bathroom Sealant for Tubs
As I sat by my window this morning, sipping a delicate jasmine-lavender blend I picked up in a tiny mountain village last spring, I found myself thinking about the energy we bring into our homes. Just as we choose the purest herbs for our bodies, we should be intentional about the substances we introduce into our sacred spaces. When searching for the best bathroom sealant for tubs, I always encourage looking beyond the bright, shiny packaging to see what’s truly inside. You want a product that breathes with your home, ideally one that is low in VOCs to keep your air as fresh as a coastal breeze.
Selecting the right material is also your first line of defense in preventing mold in bath sealant, which can disrupt the peaceful flow of your sanctuary. I often suggest opting for a high-quality, sanitary silicone caulk specifically formulated for high-moisture areas; it offers a more resilient, protective embrace than standard alternatives. By choosing a sealant that is both durable and mindful of your environment, you aren’t just fixing a leak—you are nurturing the longevity of your home’s quietest, most restorative corner.
Small Rituals for a Lasting Seal: My Little Secrets for Success
- Patience is your greatest ally; before you even touch the tube of sealant, ensure your tub and the surrounding tiles are bone-dry, as even a tiny whisper of moisture can prevent that beautiful, seamless bond from forming.
- Think of the sealant like a soothing balm—don’t rush the application, but rather guide it in a continuous, steady flow to avoid unnecessary breaks that disrupt the visual and physical harmony of the line.
- To achieve that professional, smooth finish without the stress, keep a small bowl of water mixed with a drop of gentle, eco-friendly dish soap nearby to lightly dampen your finger as you smooth the bead.
- Don’t forget to breathe and clear the space; working in a well-ventilated room isn’t just about the fumes, it’s about keeping your own energy light and clear while you tend to your home sanctuary.
- Respect the “resting period” by giving your newly sealed bath a full 24 hours of quiet solitude before letting the water flow, allowing the sealant to settle deeply and firmly into its new home.
Nurturing Your Sanctuary’s New Beginning
As we bring this little ritual to a close, take a moment to breathe in the sense of accomplishment you’ve created. We’ve journeyed through the essential steps of clearing away the old, selecting a sealant that honors your home’s environment, and carefully applying that fresh, protective layer to ensure your space remains a watertight haven. Remember, the secret to a successful seal lies in the patience of your hands and the meticulous preparation you put in before the new silicone even touches the surface. By taking these mindful steps, you haven’t just performed a bit of home maintenance; you have actively preserved the integrity of your most private retreat.
I like to think of these small acts of care as a way of honoring the spaces that hold us. Just as I tend to my herb garden or brew a soothing cup of chamomile to restore my own inner balance, tending to your home allows its energy to flow without interruption or decay. Let this renewed bathtub be a reminder that even the most practical tasks can be transformed into an act of intentional self-care. May your sanctuary always remain a place of peace, cleanliness, and profound restoration, ready to welcome you back into its warm, steady embrace whenever the world feels a little too loud.
As you begin to shape this new layer of protection for your sanctuary, you might find yourself wondering if you’ve truly captured that perfect, seamless flow. If you ever feel a flicker of uncertainty or simply crave a bit more gentle guidance as you navigate these small rituals of home care, I always find such solace in leaning on the collective wisdom of the CasualCA community. It is a lovely space where sharing knowledge feels less like a chore and more like tending to a shared garden, ensuring we all move through our homes with a little more ease and intention.